How do I install a home emergency battery in a cabin?
Dec 31, 2025
How do I install a home emergency battery in a cabin?
Living in a cabin, especially in a remote area, often comes with the risk of power outages. A home emergency battery can be a lifesaver during these times, providing essential power to keep your lights on, your fridge running, and your communication devices charged. As a supplier of home emergency batteries, I'll guide you through the process of installing one in your cabin.
Step 1: Determine Your Power Needs
Before you start the installation process, it's crucial to assess your power requirements. Make a list of the essential appliances and devices you want to keep running during a power outage. This might include a refrigerator, a few lights, a television, and a phone charger. Check the power ratings (in watts) of each device. You can usually find this information on the device itself or in its user manual.

Once you have the power ratings, calculate the total wattage. For example, if your refrigerator uses 200 watts, two lights use 60 watts each (total 120 watts), and a phone charger uses 10 watts, your total wattage is 200 + 120+ 10 = 330 watts. Consider how long you want to be able to power these devices. A general rule of thumb is to plan for at least 24 hours of backup power.
Step 2: Choose the Right Battery
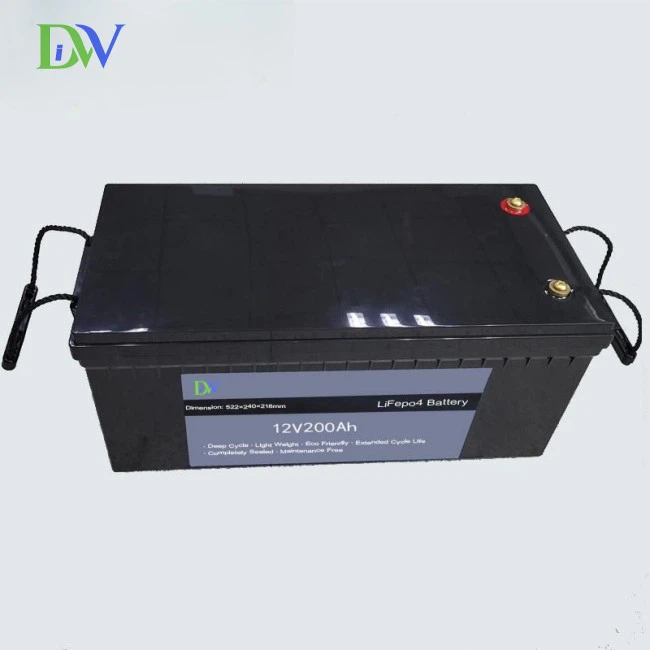
Based on your power needs, select an appropriate home emergency battery. There are different types of batteries available in the market, such as lead - acid batteries and lithium - ion batteries. Lithium - ion batteries are generally more expensive but offer several advantages, including a longer lifespan, higher energy density, and lighter weight.
As a supplier, I can recommend a range of batteries that suit different power requirements. You can also explore our Battery Backup For RV options, which are designed to provide reliable power in mobile and off - grid settings. Our Solar Energy Storage Battery is another great choice if you want to integrate solar power into your cabin's energy system, allowing you to recharge the battery using renewable energy.
Step 3: Select a Suitable Location
The location where you install the battery is important. It should be a dry, well - ventilated area away from direct sunlight and heat sources. Avoid placing the battery near flammable materials. A basement or a utility room in your cabin can be a good location. Make sure the area is easily accessible for maintenance and inspection.
If you're using a lead - acid battery, proper ventilation is crucial because these batteries can produce hydrogen gas during charging, which is flammable. Lithium - ion batteries are generally safer in this regard but still need a well - ventilated space.
Step 4: Gather the Necessary Tools and Materials
To install the home emergency battery, you'll need the following tools and materials:
- A wrench set for tightening bolts and nuts.
- Electrical wire of the appropriate gauge, depending on the power output of the battery.
- Wire strippers to remove the insulation from the wires.
- A circuit breaker to protect the electrical system from overloading.
- A battery terminal cleaner to ensure good electrical contact.
Step 5: Prepare the Battery
Before installation, carefully read the manufacturer's instructions that come with the battery. Charge the battery fully if it's not already charged. Inspect the battery for any signs of damage, such as cracks or leaks. If you find any damage, do not use the battery and contact the supplier for a replacement.
Step 6: Install the Battery Mount
If your battery comes with a mounting bracket, install it in the chosen location. Use the appropriate bolts and nuts to secure the bracket firmly to the floor or wall. Make sure the bracket can support the weight of the battery.
Step 7: Connect the Battery to the Inverter
An inverter is a device that converts the DC (direct current) power from the battery into AC (alternating current) power, which is used by most household appliances. Connect the positive and negative terminals of the battery to the corresponding terminals on the inverter using the electrical wire.
Use the wire strippers to expose a small section of the wire, and then connect the wire to the terminals. Tighten the connections securely using the wrench. It's important to follow the correct polarity (positive to positive, negative to negative) to avoid damage to the equipment.
Step 8: Connect the Inverter to the Electrical System
Locate the main electrical panel in your cabin. You'll need to connect the output of the inverter to the electrical system. This usually involves installing a transfer switch, which allows you to switch between the grid power and the battery power.
A transfer switch should be installed by a qualified electrician to ensure safety and compliance with local electrical codes. The electrician will connect the transfer switch to the main electrical panel and the inverter, and will also install a circuit breaker to protect the system.
Step 9: Test the System
Once the installation is complete, it's time to test the system. Switch off the grid power to simulate a power outage. The transfer switch should automatically switch to the battery power, and your essential appliances should start running. Check that all the devices are working properly.
Monitor the battery level during the test. Most batteries have a built - in battery management system (BMS) that can display the battery level. If you notice any issues, such as a low battery level or a device not working, turn off the system and troubleshoot the problem.
Step 10: Maintenance
Regular maintenance is essential to ensure the longevity and performance of your home emergency battery. Here are some maintenance tips:
- Check the battery terminals regularly for corrosion. Clean them using a battery terminal cleaner if necessary.
- Monitor the battery level and recharge it as needed. If you're using a lead - acid battery, make sure to check the water level and add distilled water if required.
- Inspect the wiring and connections for any signs of damage or loose connections. Tighten loose connections and replace damaged wires promptly.
If you're interested in exploring our Generator Car Lithium Battery for other applications or want to learn more about our home emergency battery products, feel free to contact us. We're here to help you find the best energy storage solution for your needs. Whether you're a cabin owner looking for reliable backup power or a customer interested in other energy - related products, our team of experts can provide professional advice and support. Reach out to us to start a discussion about your requirements and explore the possibilities of our high - quality battery products.
References
- "Battery Installation Manuals" from various battery manufacturers.
- "Electrical Wiring and Safety Standards" from the local electrical code authorities.